What Pour Over Is
Pour over is drip coffee done by hand. You set a dripper with a paper filter over a mug or carafe, add ground coffee, and pour hot water over it in stages. Gravity does the rest. Because you control the water, the speed and the timing, you control the cup. Get the pour over ratio and the grind right and the rest is practice.
It rewards attention. It’s not the pot you brew for the whole crew at 5:45 AM. It’s the cup you make on a Saturday, or the one you make for yourself before the crew shows up.
The Pour Over Ratio: 1:15 to 1:17
A pour over ratio of 1:15 to 1:17 coffee to water by weight is a common starting point. 1:15 is fuller and stronger. 1:17 is lighter and brighter. 1:16 sits in the middle and is a good place to start adjusting from.
| Water | Coffee at 1:15 | Coffee at 1:16 | Coffee at 1:17 |
|---|---|---|---|
| 250 g (about 8.5 oz) | 17 g | 16 g | 15 g |
| 350 g (about 12 oz) | 23 g | 22 g | 21 g |
| 500 g (about 17 oz) | 33 g | 31 g | 29 g |
| 750 g (about 25 oz) | 50 g | 47 g | 44 g |
The water column is what you pour, not what ends up in the mug. The grounds hold some of it back.
A scale matters more for pour over than for most methods, because small changes show up in the cup. No scale? About 5 g per level tablespoon of ground coffee is a common rough conversion, so 22 g is a little over 4 level tablespoons. Spoonfuls vary with grind and roast. For other sizes, the coffee ratio calculator does the math.
What You Need to Brew Pour Over
- A dripper. Cone or flat-bottom. Both work.
- Paper filters that fit it.
- A kettle. A gooseneck makes a slow, aimed pour easy, but a steady hand and a regular kettle will get you there.
- A scale and a timer. Your phone is the timer.
- A grinder, ideally, so you can grind right before you brew.
Grind Size: Medium-Fine
Medium-fine, somewhere around table salt. That’s finer than a drip machine and a lot finer than a french press. Grind size is the main dial on a pour over. It sets how fast the water drains, and drain time decides how much flavor comes out of the grounds.
How to Brew Pour Over, Step by Step
Here’s a single-mug example: 22 g of coffee and 350 g of water, close to 1:16.
- Heat the water to about 195 to 205°F, just off the boil.
- Rinse the filter. Set it in the dripper, wet it all over with hot water, then dump that water. It warms the dripper and rinses out the paper taste.
- Add the coffee and give the dripper a shake so the bed is flat.
- Bloom. Start the timer and pour about twice the coffee’s weight in water, roughly 45 g here, just enough to wet all the grounds. Wait 30 to 45 seconds. Fresh coffee puffs up and bubbles as it lets off gas.
- Pour in slow spirals. Start in the center and spiral outward, then back in. Keep the stream gentle, and don’t pour straight down the paper at the edges, where water can sneak past the coffee.
- Pour in stages. A simple schedule: bring the total to about 200 g at around 1 minute 15 seconds, then to 350 g at around 2 minutes. Keep the water level steady instead of flooding the cone.
- Let it drain. Total time from first pour to last drip should land around 3 to 4 minutes.
- Swirl and serve. Give the mug or carafe a swirl to mix it, and drink.
That schedule is a starting point, not gospel. The clock and your tongue will tell you what to change.
Adjusting the Grind by Taste and Time
Taste first, then check the clock. Change one thing at a time.
- Sour, thin, or it drained in under 3 minutes: grind finer. The water ran through before it pulled enough out.
- Bitter, harsh, dry, or it took over 4 minutes: grind coarser. The water sat too long and pulled out the rough stuff.
- Balanced but too weak or too strong: leave the grind alone and change the ratio. Go toward 1:15 for more punch, toward 1:17 for lighter.
- Water pooling on top or running down one side: pour slower and more evenly, and check that the coffee bed is level.
Make small moves: one notch on the grinder, then brew again. Write down what worked so you can do it again tomorrow.
Which Coffees Shine in a Pour Over
A paper filter catches oils and fine particles, so a pour over comes out clean and clear. That’s where lighter roasts earn their keep. The bright, fruity notes that can get lost in heavier methods come right through.
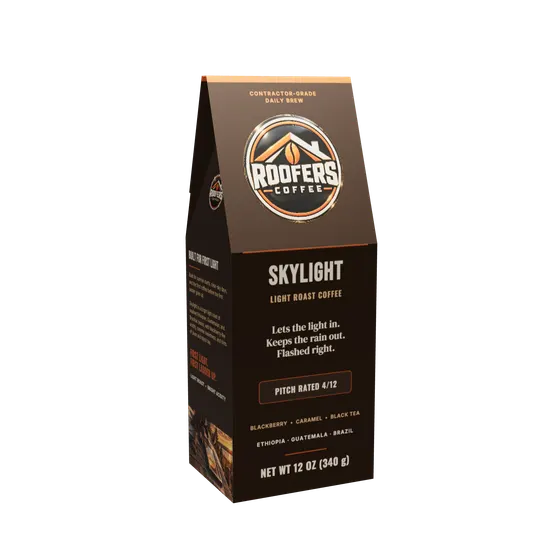
- Skylight: light, 4/12. Blackberry, caramel and black tea, bright and well-rounded. A good first pour over if you’re new to lighter roasts.
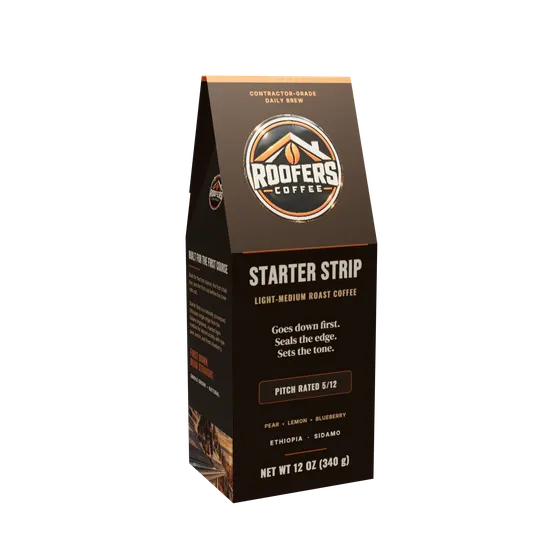
- Starter Strip: light-medium, 5/12. A natural-process single origin from Sidamo, Ethiopia, with pear, lemon, blueberry and floral notes and a vibrant acidity.
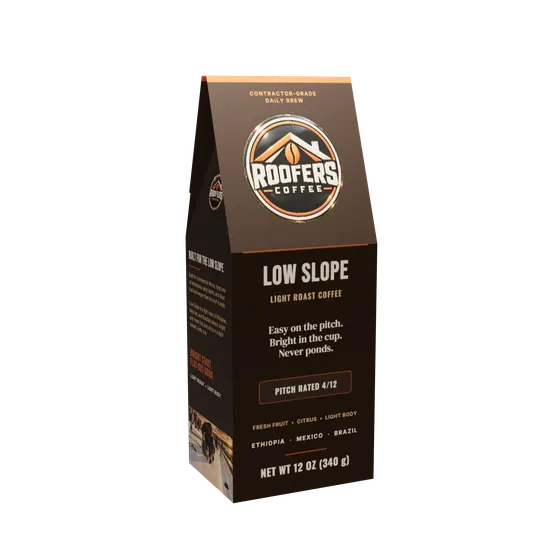
- Low Slope: light, 4/12. Fresh fruit and citrus with a light body. Bright and lively.
Each comes in a 12 oz box, whole bean or ground, roasted fresh when you order. For pour over, whole bean is the better pick so you can grind medium-fine right before you brew. Curious how light compares with dark? Read light vs. dark roast, or see where each coffee sits on the pitch rating scale.
Pour Over for the Crew: The Honest Take
Pour over is one cup at a time and wants your full attention for three or four minutes. On a jobsite, that’s a luxury. For a trailer full of people, a drip coffee maker or a big french press makes more sense, and for hot days there’s cold brew. Save the pour over for the quiet cup before the day starts. Every method is in the Jobsite Brew Guide.